The background
My earlier Post on “Paardeberg (Finding the Canadians)” covers our trip with Sheila (Sam) and John Denner to Kimberley and the Paardeberg Battlefield. The follow-on trip took us to Kwazulu-Natal where we visited a number of battlefield sites, some of which were described in the similarly captioned Posts, Parts 1 and 2. This post takes up the next leg of the trip, covering more of the battlefield sites identified by John over the northern and central parts of Kwazulu-Natal (KZN) province, which lies in the north-east quadrant of South Africa.
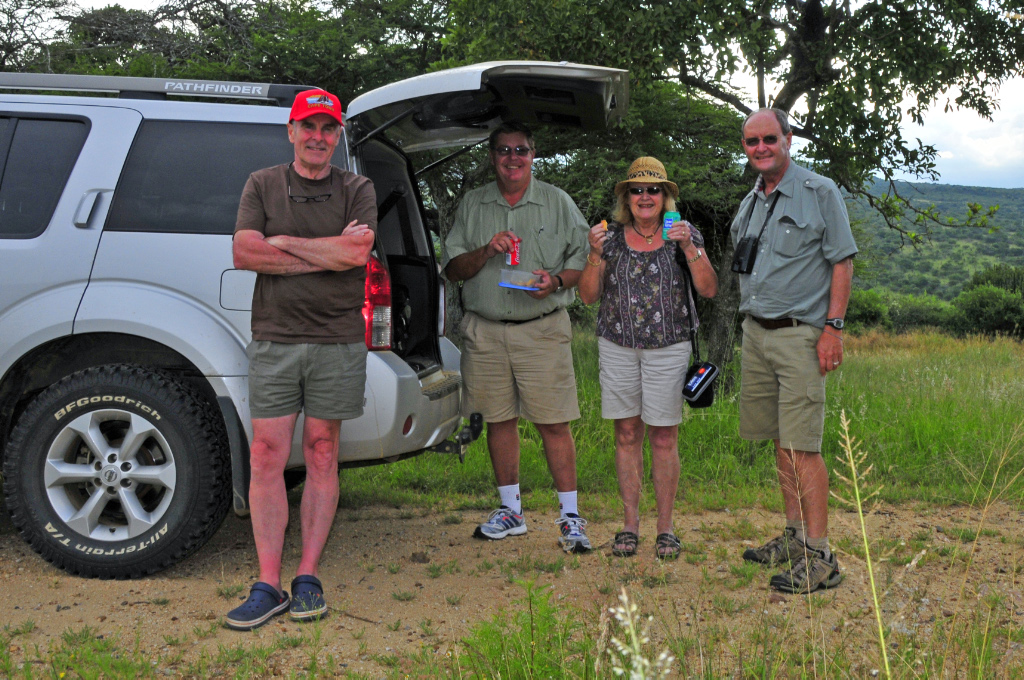
We continued to enjoy the wonderful hospitality of Pieter and Anlia Genis , family of my wife Gerda, who farm near Vryheid and who had offered their farm as a base for us to visit the various battlefield sites. They went far beyond normal hospitality in driving us around and providing meals and a place to sleep for four days – they surely deserve a medal!
Next on our agenda were the well-known sites of Rorke’s Drift and Isandlwana, where fierce battles took place between the British and the Zulu nation. To close out our KZN visit we tracked across the province to visit the Ulundi battlefield and the nearby sites of Piet Retief’s grave and the mock-up of Dingaan’s Kraal. Lastly we visited the site of the Battle of Khambula, just a couple of km’s from where we were staying on the farm.
A tour of the farm was in order before making our way back to Pretoria
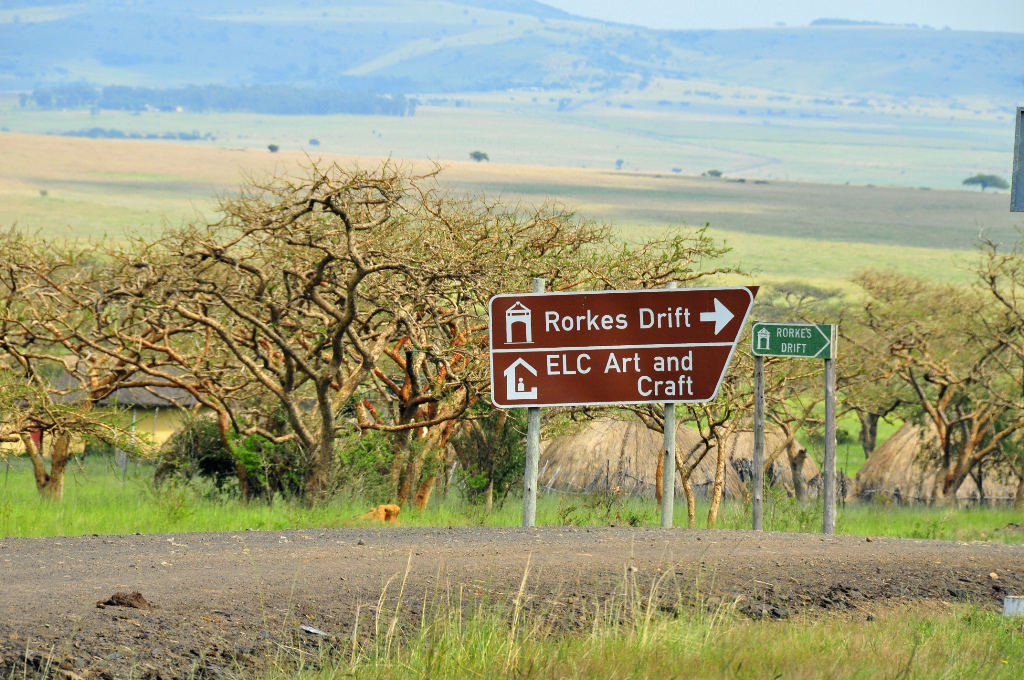
Battle of Rorke’s Drift (23 January 1879)
Following an early farm breakfast, we traveled via Dundee to Rorke’s Drift, arriving just after 10h00.
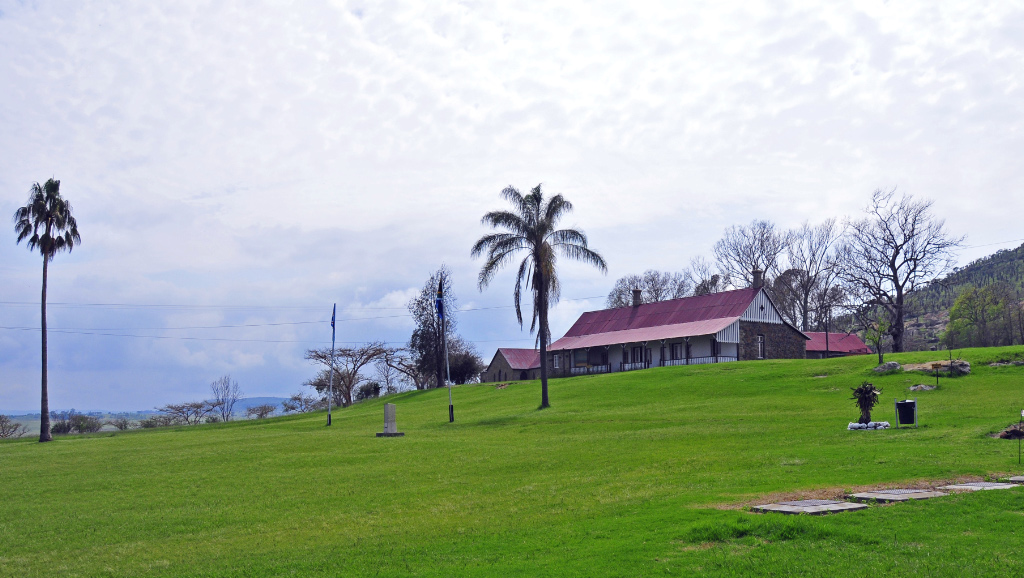
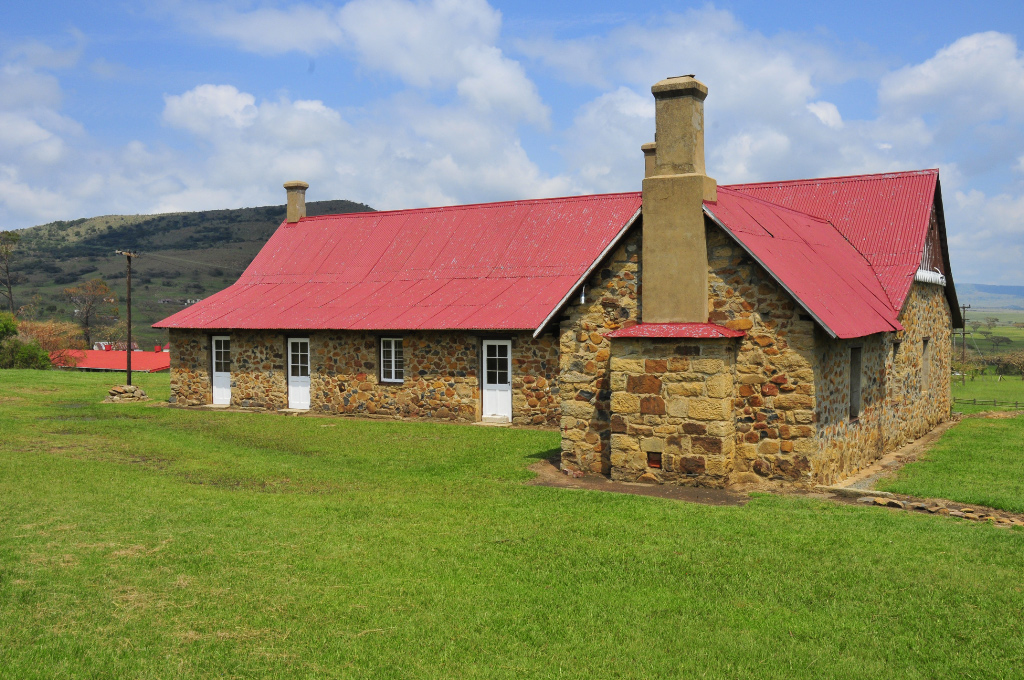
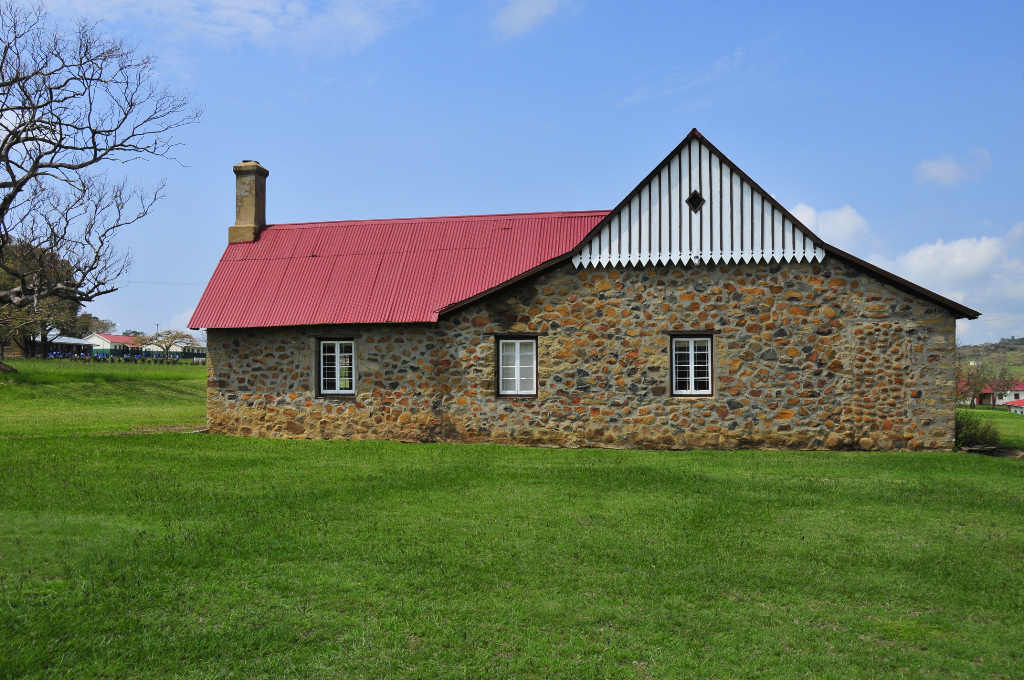
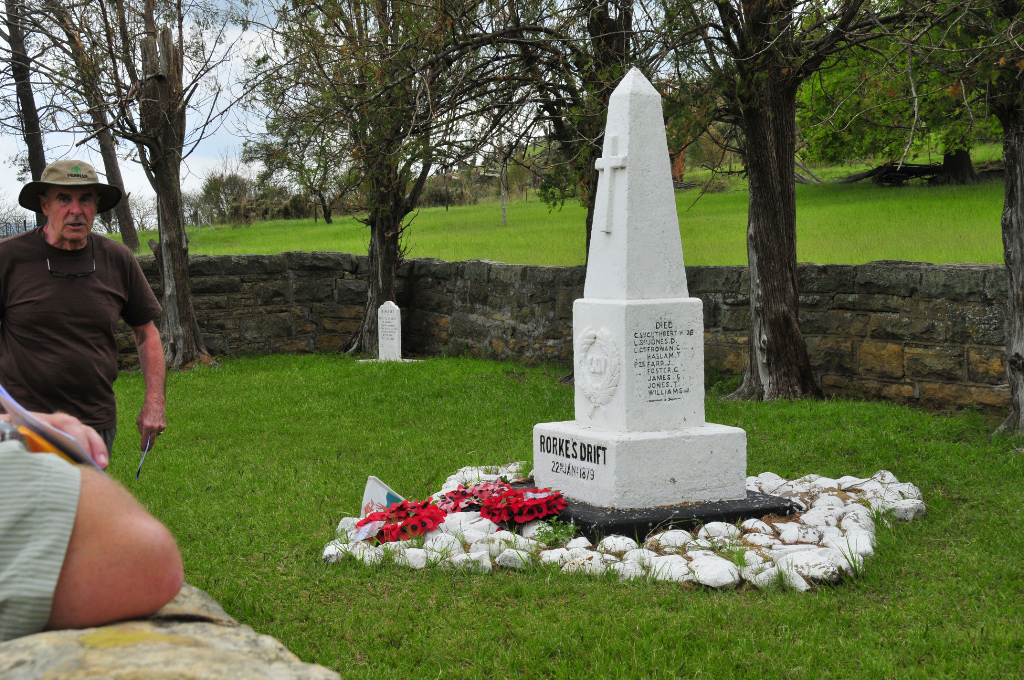
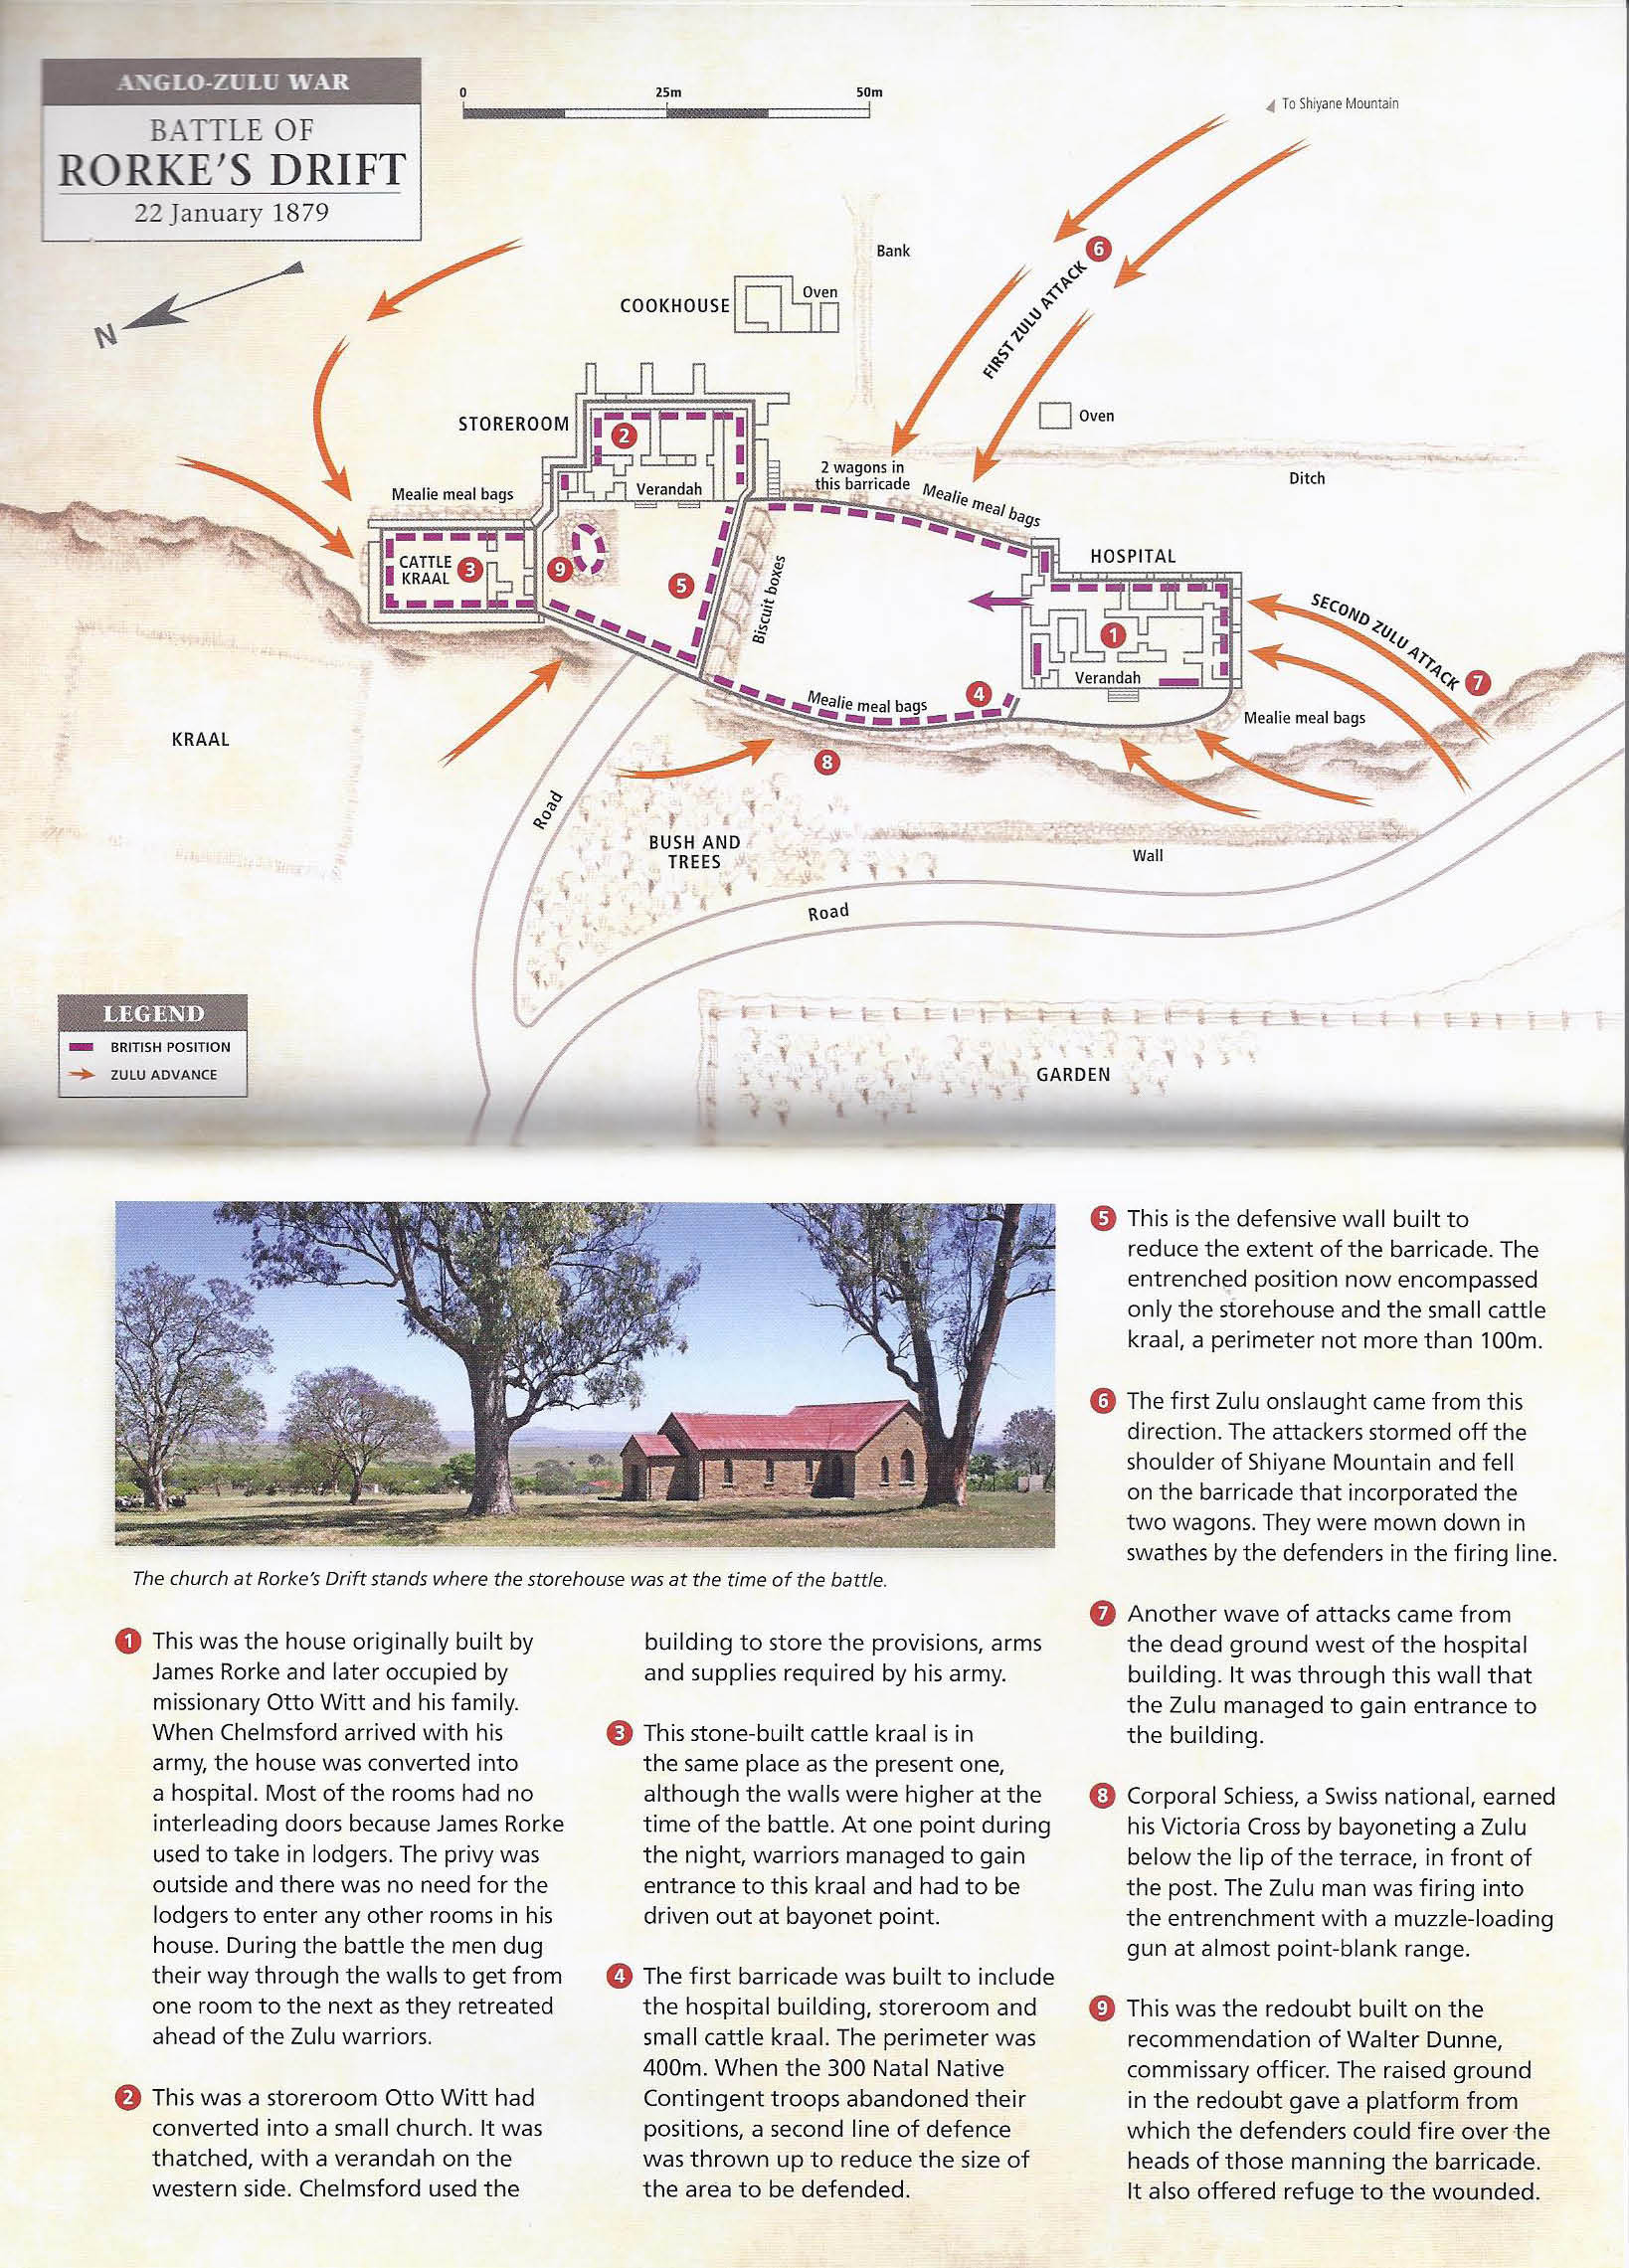
This was the site of a heroic defence, by around 100 men, of the hospital and surrounds against thousands of Zulus. The house used as a hospital has been reconstructed on the old foundations and acts as a museum, while the immediate area that was successfully defended is marked out with white stone lines, making it easy to picture just how the battle progressed and where the main lines of defence were positioned.
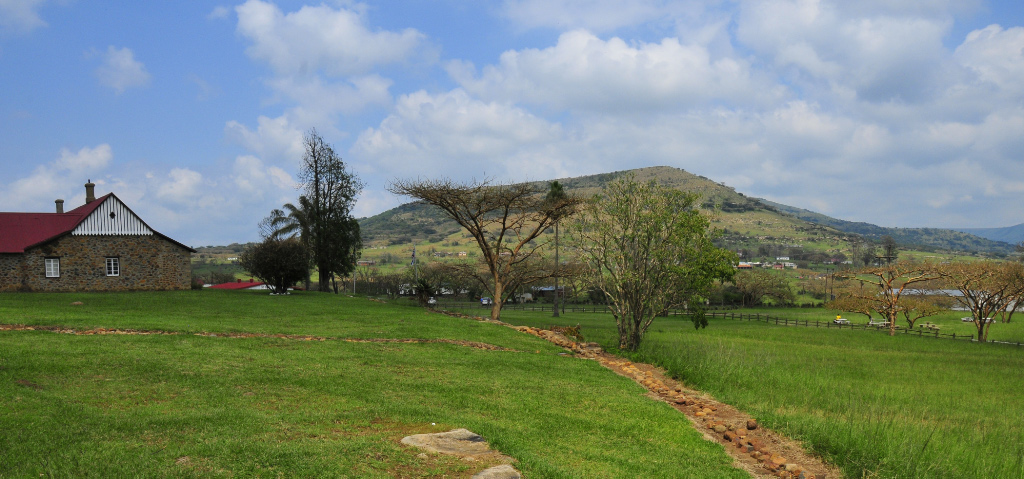


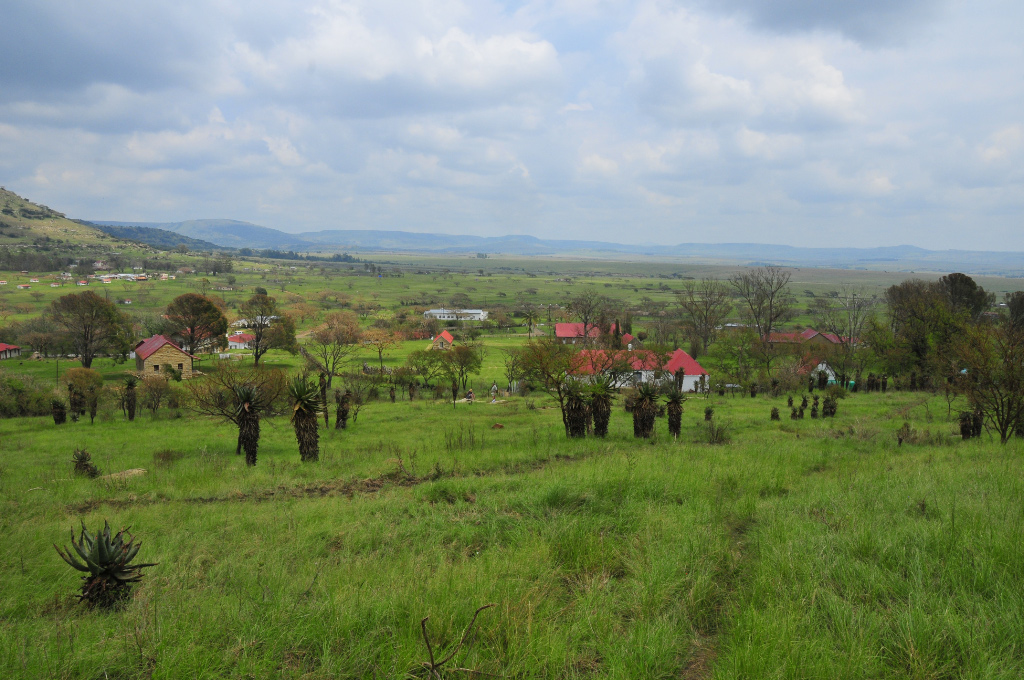
We walked up to the ridge where numbers of Zulus hid in caves and fired downwards at the British defenders – now one looks down on the local school grounds and some scattered dwellings, which seems a waste of an opportunity to turn the site into a significant attraction, famous as it is throughout the world.

The Battle
This battle started on the same day as the Battle of Isandlwana, continuing to the next day, and it soon became clear that the two battles are inextricably linked.
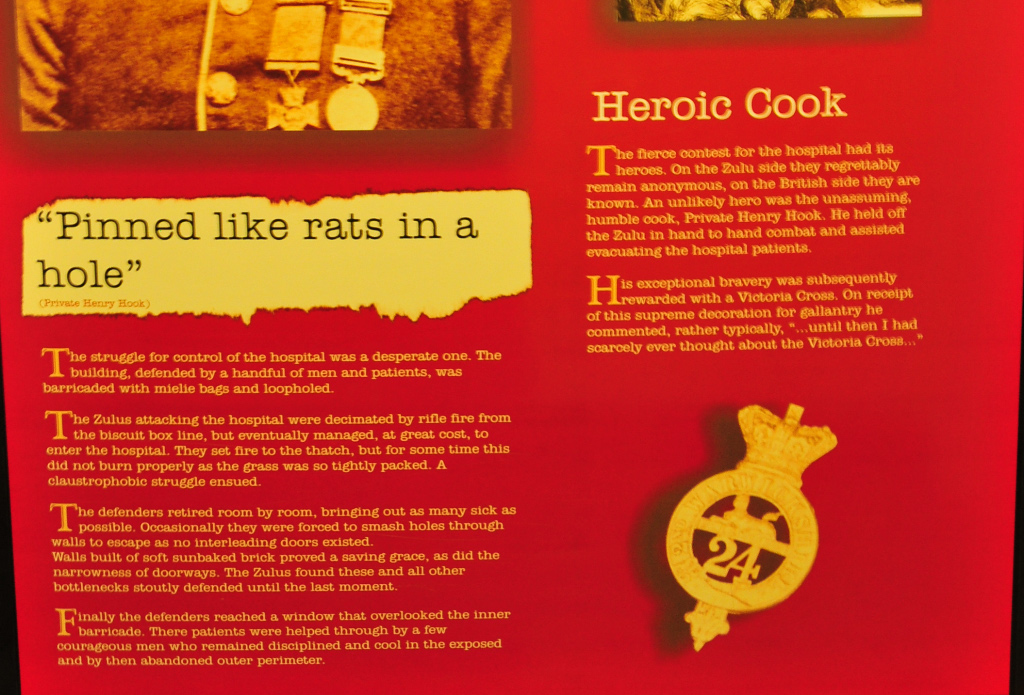
With the main British column being involved in the invasion of Zululand, just 104 men were left at the camp at Rorke’s Drift, on the border between Natal and Zululand, at a point where a drift provides a crossing point across the Buffalo River. The hospital was looking after 39 sick men. Hearing of the battle at Isandlwana and receiving reports of Zulu warriors heading in their direction, the men left at Rorke’s Drift set up barricades close to the hospital using biscuit tins and bags of mealie meal and prepared for the onslaught, which came in waves of Zulu warriors numbering about 4000 in all. Eventually some of them gained access to the hospital and the British broke holes in the walls to escape to the outside barricaded area, taking the hospital patients with them. The Zulus continued to attack throughout the night and managed to set fire to the thatched roof of the hospital, but were repulsed each time – at first light the Zulus withdrew when they saw some of the remaining forces who had managed to escape from Isandlwana returning to Rorke’s Drift.
The map below is taken from the book Field Guide to Battlefields of South Africa
Where is it?
Travel on the R 68 to Nqutu, turn right after about 26 km to Rorke’s Drift and turn left after a further 6 km at a T-junction and travel to the entrance gate. The gate is at 28º 21′ 28.3″ S , 30º 32′ 06.3″ E
Battle of Isandlwana (22 January 1879)
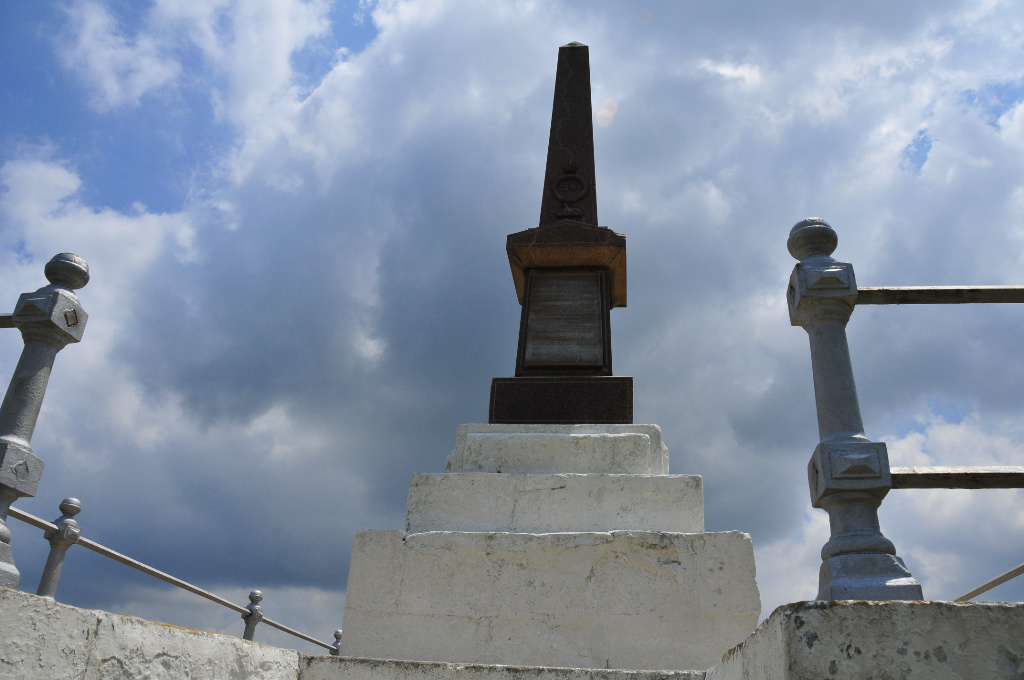
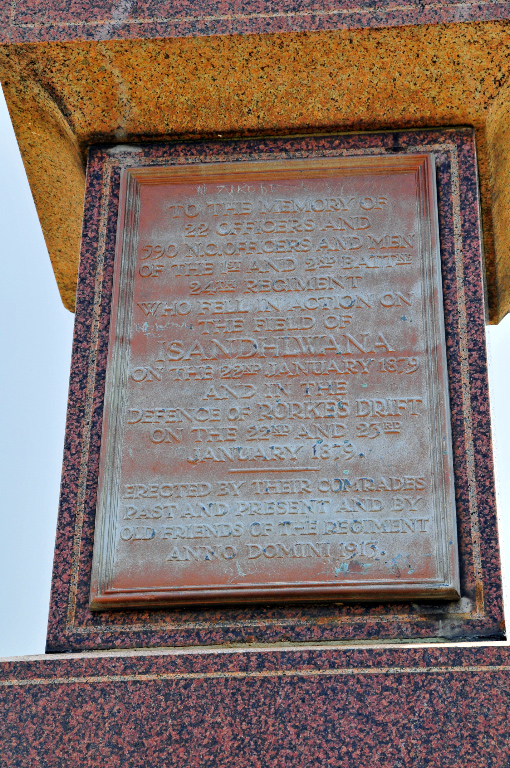
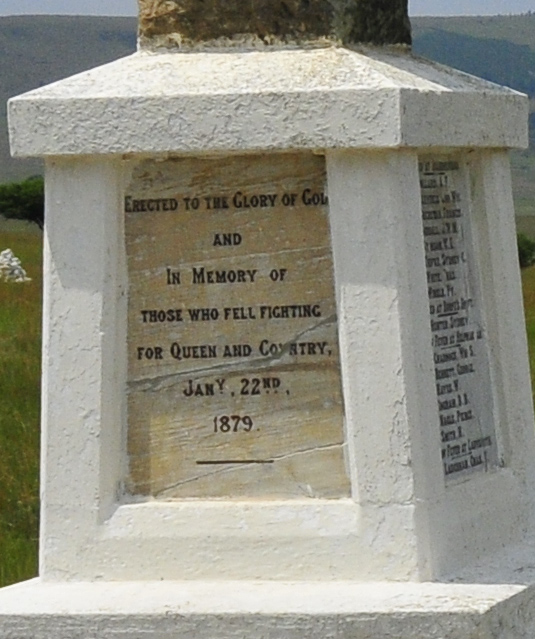
Isandlwana was our next stop, not too far along the road. A number of monuments commemorate the battle and tens of stone crypts are dotted across the vast site, marking the spots where the fallen soldiers were buried. The battle took place on the same day as Rorke’s Drift, when a massive Zulu force wiped out about 1300 British soldiers, making it one of the most disastrous battles for the British and a major triumph for the Zulus.


The Battle
The British army invaded Zululand in 3 separate columns, of which the central column consisted of some 4500 men under Lord Chelmsford, who were headed in the direction of Ulundi, the seat of the Zulu king, Cetshwayo. At the same time the Zulu army of some 22000 warriors had left Ulundi and were heading towards Rorke’s Drift with orders to engage the British forces. The Zulus employed an attack strategy known as “the horns-of-the-buffalo” formation and eventually surrounded the depleted British forces who began to retreat. The battle ended in disaster for the British, as all men who stayed to the end were killed, with 1329 British dead in total. The Zulus also suffered around a 1000 dead, making it an expensive victory, which turned out to be short-lived when the British came out victorious some 5 months later at the final battle of the war at Ulundi.
The map below is taken from the book Field Guide to the Battlefields of South Africa

Where is it?
The site is south-east of Dundee in KZN – travel on the R 68 to Nqutu where you turn right in town then take the R 68 further to Melmoth – the turn-off to the site is about 14 km out of Nqutu.
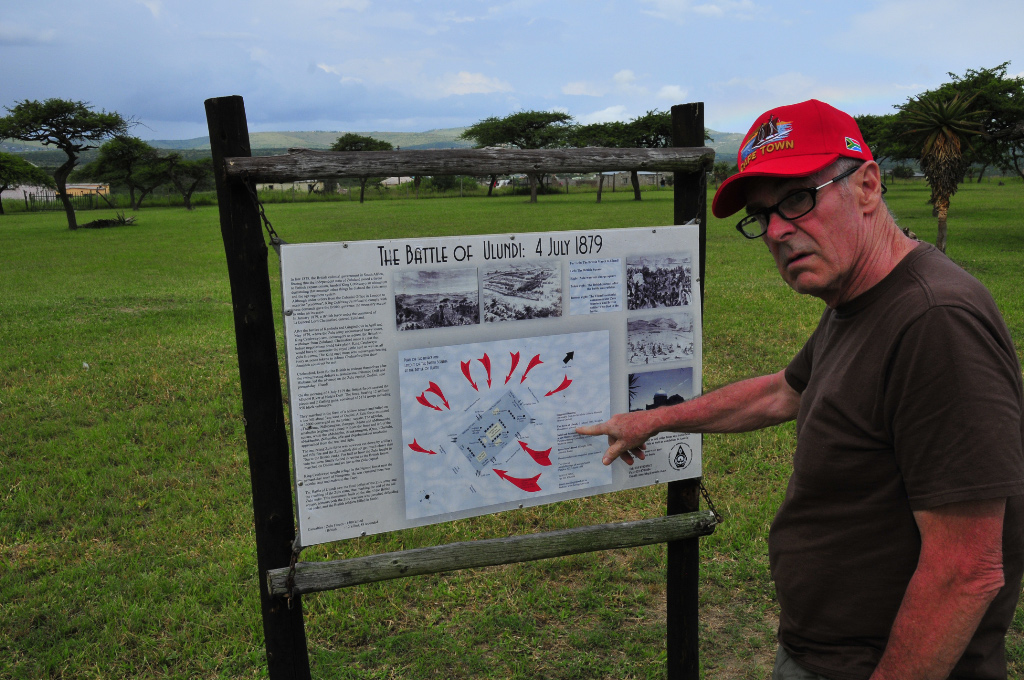
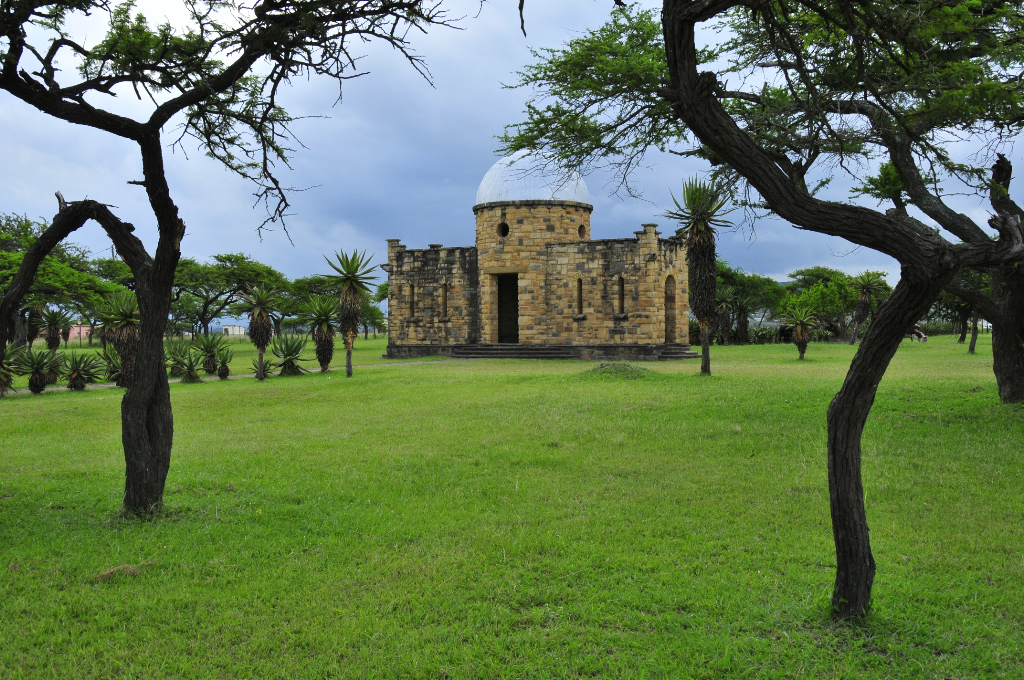
Battle of Ulundi (4 July 1879)
From Isandlwana it was a long drive along some very rough back roads, expertly negotiated by Pieter in his Nissan Pathfinder, via Babanango to Ulundi where the final battle of the Anglo-Zulu War took place. The site is well-preserved and presented, with a commemorative domed building in the middle of the site and pathways radiating out from the centre, delineating the area where about 5500 British soldiers were formed in a “fighting square” and managed to keep some 15000 Zulu warriors at bay.


The Battle
This was the final battle of the Anglo-Zulu war. The British forces, numbering about 5500 men, were advancing on Ondini, home of Cetshwayo the Zulu king, formed into a fighting square with companies of fighting men on four sides with guns and wagons alongside them, covering an area of some 3.5 hectares. The Zulus employed their famous “horns-of-the-buffalo” formation and began to attack the British formation, but suffered huge casualties and were beaten back and subsequently pursued with many being killed, probably as a brutal revenge for the British losses at Isandlwana. The British dead amounted to 12 men.
Where is it?
Travel to Ulundi town and take the airport road turn-off – shortly after you pass the airport the site is visible on the left. The GPS position at the monument in the middle of the site is 28º 18′ 39.3″ S , 31º 25′ 32.2″ E
Piet Retief’s Grave (Murdered on 6 February 1838)
By this time it was getting late and we were all tiring after a long day’s drive – not surprisingly, we were wavering about whether to look for the site where Piet Retief was buried, but John was adamant that we should “pay our respects to old Piet”. After a further short drive from Ulundi and a couple of wrong turns, we found the site at the end of a dirt road. The grave of Piet Retief and the monument to him and the 70 burghers who were all murdered, was well-kept and quite moving to visit, knowing some of the history leading to this tragic event.


The Murder
The Trekkers under Piet Retief were seeking permission to settle south of the Tugela River and he and his entourage entered into negotiations with the Zulu king Dingane at his homestead, but were all executed on Dingane’s orders.
Where is it?
We had some difficulty finding the site due to poor signposting – the GPS position is 28º 25′ 37.7″ S , 31º 16′ 12.6″ E
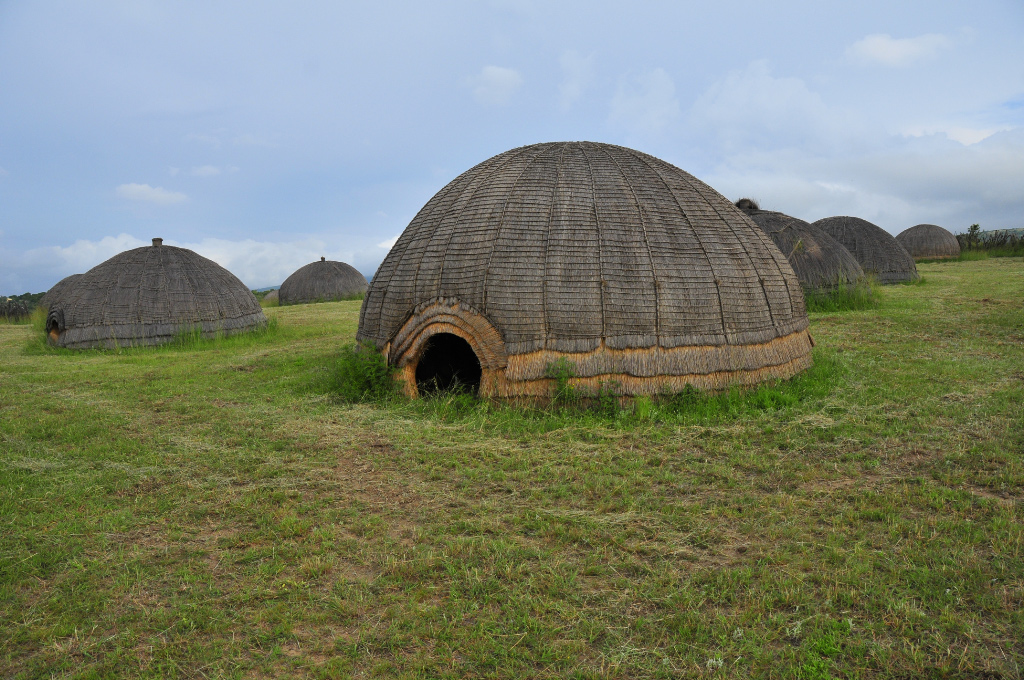
Dingaan’s Kraal
We followed this up with a look-in at the nearby mock-up of Dingaan’s Kraal which has been re-created in the same position that it was at the time of the murder.
Where is it?
Very close to the grave of and monument to Piet Retief and his entourage – best to visit both in one trip.
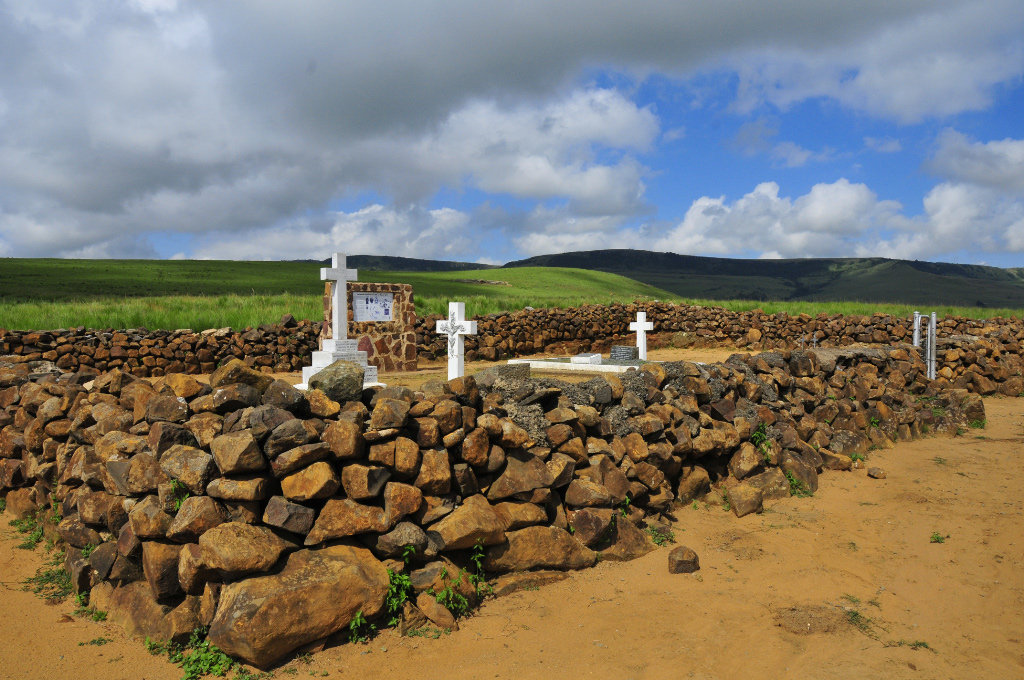
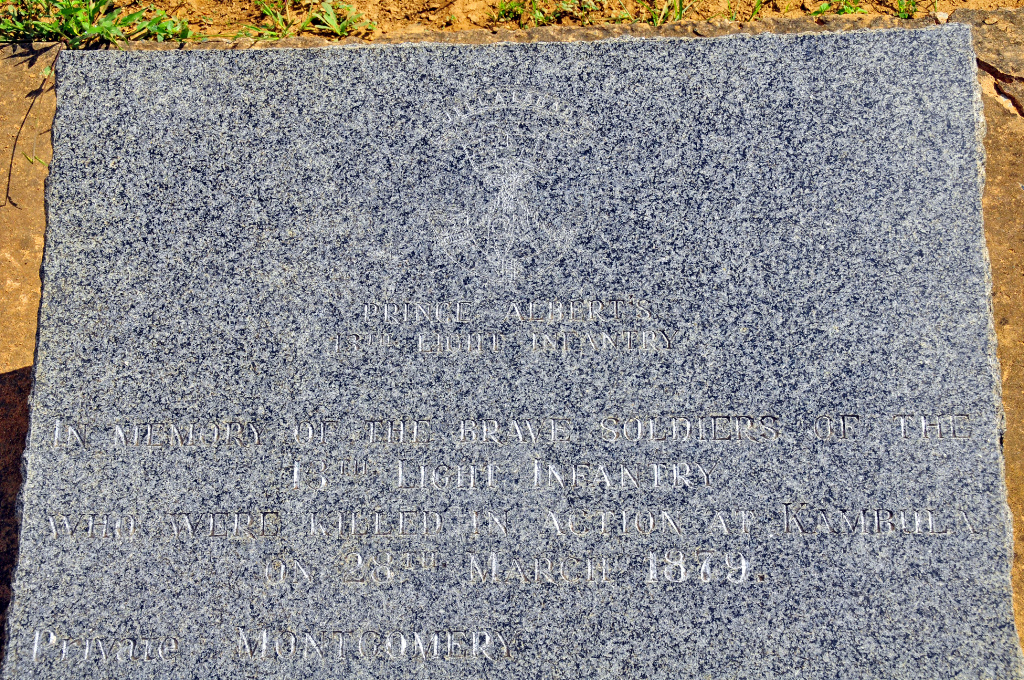
Battle of Khambula (29 March 1879)
The closest battlefield site to the farm, just a few km’s away, is that of the Battle of Khambula, which Pieter took us to view before returning to Pretoria. Once again we were pleasantly surprised to find the cemetery and monuments well-kept, despite it being on private ground and not being one of the “popular” sites, so probably visited very infrequently.


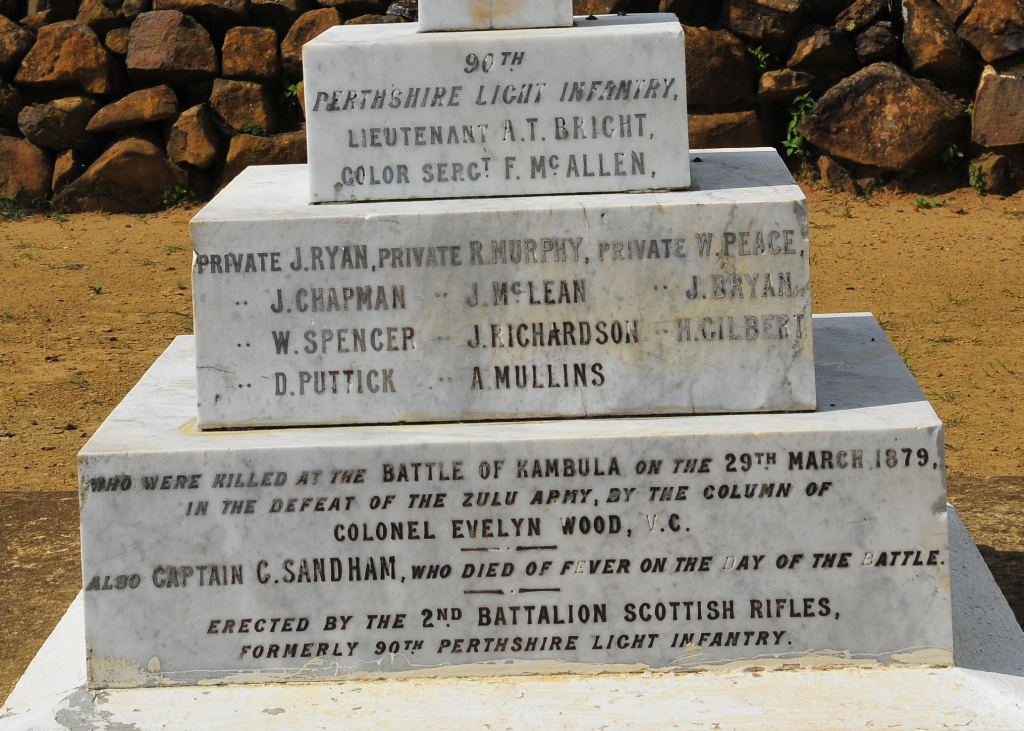

The Battle
This battle followed some 3 months after the disastrous loss for the British at Isandlwana and just a day after the Battle of Hlobane on a nearby mountain the previous day where further losses were suffered. The battle of Khambula took place at the British encampment which housed the northern British column of the forces that had set out to invade Zululand. The 1800 British soldiers successfully defended their position against up to 20000 Zulu warriors and inflicted heavy casualties on them while suffering 18 dead and 65 wounded
Where is it?
Turn off the R33 between Vryheid and Paulpietersburg about 5 km outside Vryheid and follow the dirt road for a further 5 km to the site. There is no gate to the site so use the GPS positions to find the cemetery at 27º 41′ 15.5″ S , 30º 40′ 04.4″ E
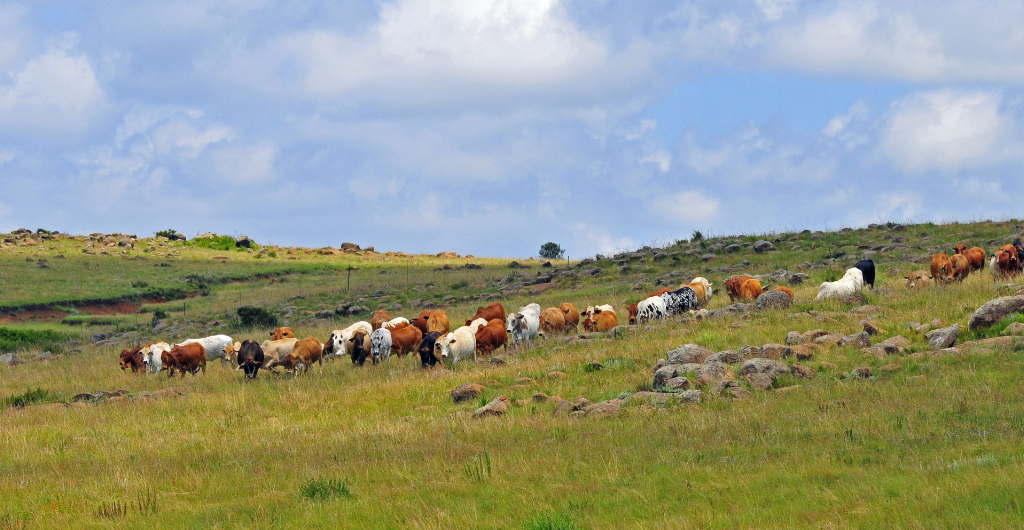
The Farm
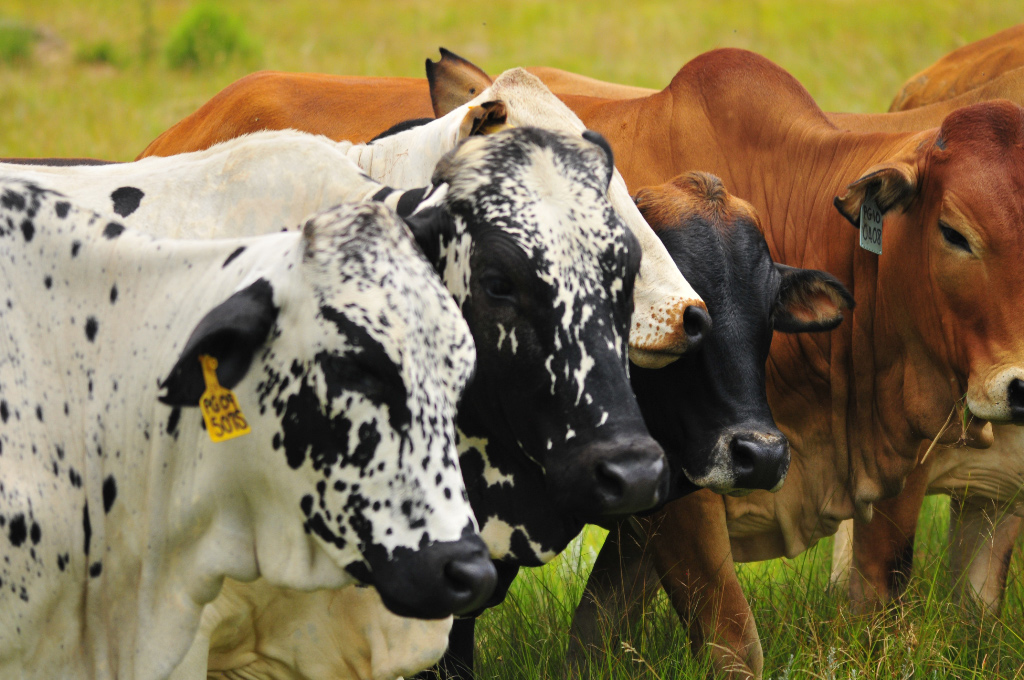
In between travelling to the sites we continued to enjoy the hospitality of Pieter and Anlia – before departing for Pretoria, Pieter took us on a tour of the farm, including the grazing land for his herd of fine Boran cattle high up on the plateau, accessed by a mildly hairy dirt road that switchbacks up the side of the mountain.

Having seen a lot of KZN in the few days at our disposal and having covered almost all of the battlefield sites on John’s “wish list”, we returned to Pretoria quite tired but well satisfied. Next on the itinerary was a couple of days to take it easy, perhaps explore the Pretoria and Joburg area a bit and get ready for our trip to Kruger Park and the other attractions of Mpumulanga province, followed by a flight to George to “do” the Garden Route.
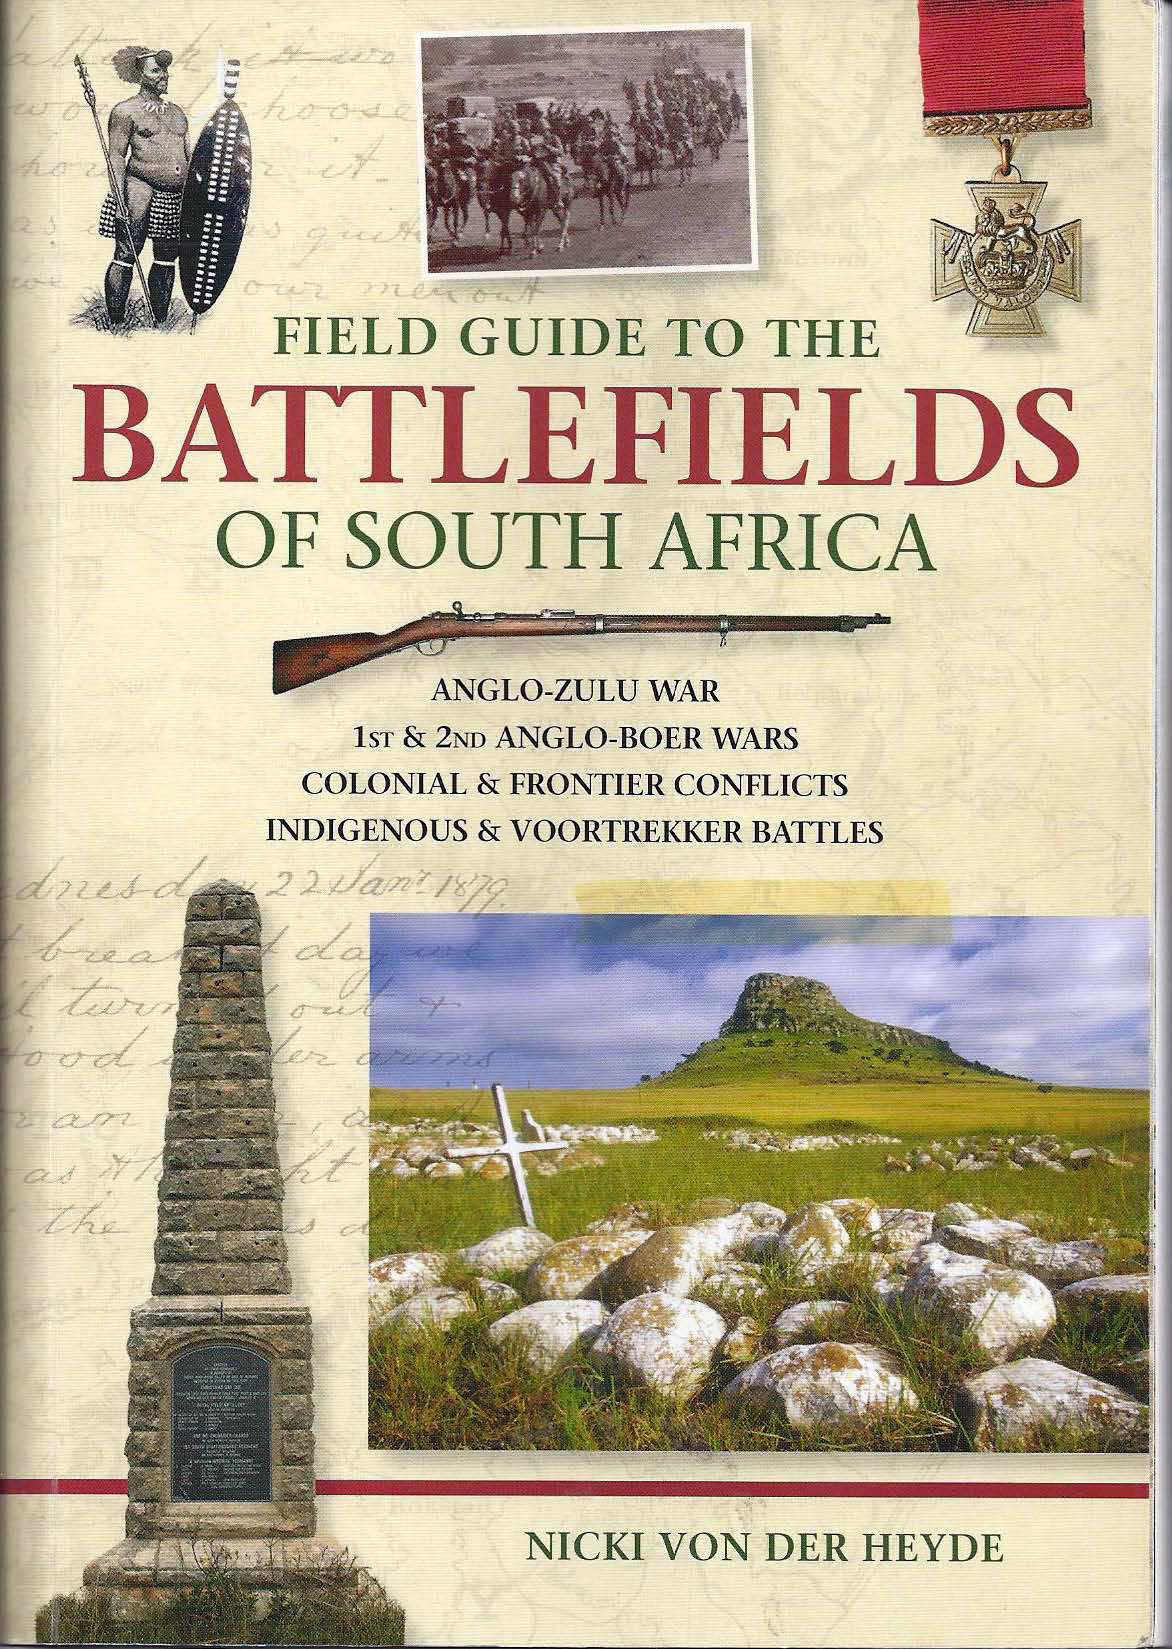
Special note : much of the detail info is taken from the excellent book Field Guide to the Battlefields of South Africa and summarised in my own words – the cover is reproduced below. It is highly recommended for anyone seeking more info and intending to visit some of the sites.

great stuff again Don……reminds me of history lessons at school with Charlie Hallack
Who can forget Charlie Hallack! A legend at school. He had a way of bringing history to life.